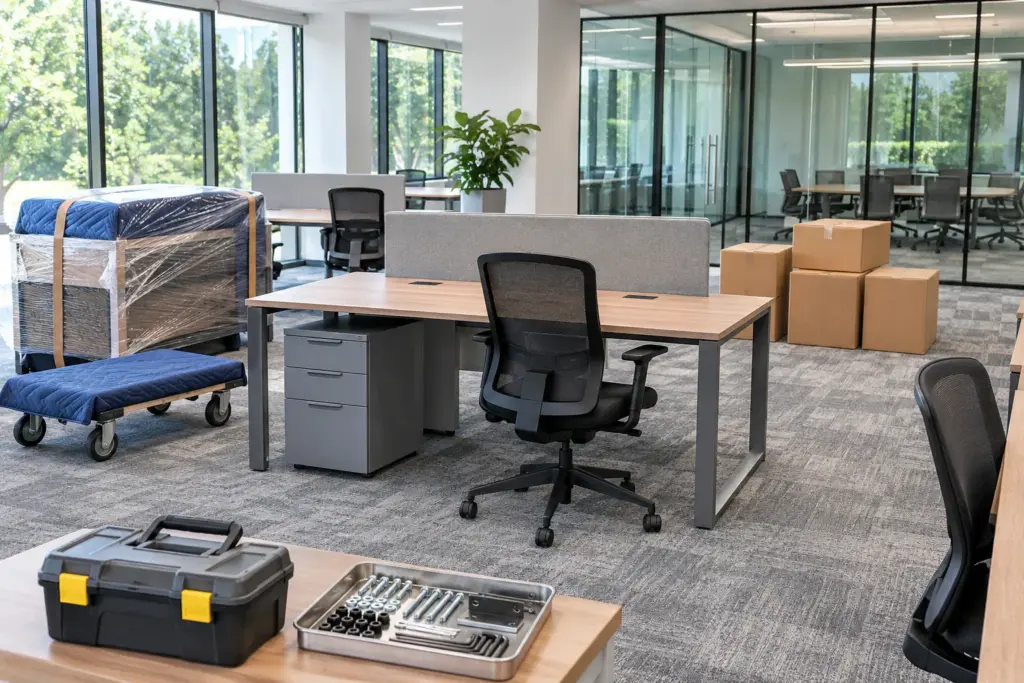
Moving office furniture is a three-part job: taking it apart without losing pieces, getting it to the new space without damage, and putting it back so that people can sit down and work. Most problems come from the first and third parts. Panels that were never labeled, hardware that went missing, and a floor plan that changed after the delivery date all turn a one-night move into a week of improvisation.
This guide walks through the whole process in order: what counts as office furniture for moving purposes, how to audit and label it, who does which task, how installation should be sequenced and how to record damage and fix defects afterward. It is written for office managers, facilities leads and operations teams planning a move for anything from a ten-person suite to a multi-floor headquarters.
What an office furniture move actually covers
Furniture in a business move is not one category. Each type behaves differently, and the handling plan should say so.
| Item type |
Examples |
What needs attention |
| Desks and workstations |
Standard desks, sit-stand desks, benching |
Fasteners, wire management trays, electrical components in height-adjustable models |
| Systems furniture |
Modular cubicle panels, partition walls, overhead storage |
Component counts, panel orientation, manufacturer assembly sequence |
| Conference furniture |
Boardroom tables, credenza, presentation walls |
Weight, size through doorways, multi-part tops, cable boxes |
| Task seating |
Office chairs, guest chairs, stools |
Asset tags, protection from soiling and snags |
| Storage |
Filing cabinets, lateral files, bookcases, lockers |
Weight when loaded, locks and keys, drawer stops |
| Reception and breakout |
Counters, sofas, tables, display furniture |
Finishes, glass or stone tops, upholstery |
| Fixtures and equipment |
Whiteboards, screens, shelving, lighting, artwork |
Mounting hardware, fragile surfaces, wall repair at the old site |
Industry usage groups these under the term FF&E, which stands for furniture, fixtures and equipment. It describes movable items that are not permanently attached to the building. Built-in cabinetry, plumbing, wiring and ventilation are not FF&E and belong to a different part of the project, usually handled by the landlord or a contractor.
Step 1: Audit what you have and decide its fate
Before any packing, walk the office and list every furniture item with its quantity, condition and configuration. This audit is the document everything else depends on.
For each item, choose one of three outcomes:
- Relocate as is. The item is in good condition and fits the new layout.
- Refurbish before moving. Worth keeping, but needs repair, reupholstery or cleaning.
- Retire. Broken, mismatched or surplus, and better sold, donated or recycled than moved.
Write the decisions into a single schedule. It gives the moving provider a handling brief, tells procurement what to buy, and keeps retired items from riding in the truck at your expense. Run the audit early enough to leave time for any new purchases, because procurement lead times can control the whole move date. One contract furniture guide cites four to twelve weeks from confirmed order for standard items, and longer for made-to-measure pieces. Confirm lead times with your supplier before you commit to a date.
If you have surplus furniture that is not needed at the new space but not ready to dispose of, short-term storage keeps it out of the way. Rise Up Moving’s commercial moving services include furniture disassembly and setup along with short and long-term storage for surplus furniture or transitional inventory, which makes it easier to stage a phased move.
Step 2: Lock the floor plan
The new floor plan is the second critical document. It should show every workstation, meeting room, storage unit and shared piece of furniture, drawn to scale, with the new building’s structural limits marked.
A few rules keep the plan useful:
- Measure the access route, not just the room. Elevators, corridors, doorways and stairwell turns decide whether a conference table goes through whole or in sections.
- Lock the plan before ordering or scheduling. Contract furniture projects warn that a plan still changing weeks into an order window can push delivery past supplier commitments. Changes late in the process affect the move crew as well, because every workstation label refers to a position on the plan.
- Give each workstation a code. A simple system such as floor, zone and desk number (for example, 3-B-14) works. The same code goes on the plan, on the furniture and on the box of that person’s belongings.
- Mark the power, data and wall features. Furniture positions depend on outlet locations, floor boxes and window lines.
- Plan the installation order by zone. Decide which areas open first. Executive suites, the reception area and the teams needed on day one go first.
Share the plan with the moving provider during the walkthrough. A good crew will notice issues, such as a corridor too narrow for the existing credenza, before they become moving-night problems.
Step 3: Divide the work between the business, IT and movers
Most disputes in an office move come from unclear responsibilities. Agree on them in writing.
| Party |
Typical responsibilities |
| Your business |
Furniture audit, floor plan, notices to staff, personal item packing, workstation codes, decisions on disposal |
| IT team or provider |
Backups, disconnecting and reconnecting computers, monitors, phones and network equipment, data security |
| Moving provider |
Disassembly, hardware bagging, wrapping, loading, transport, unloading, reassembly, placement according to the plan |
| Building management |
Elevator reservations, loading dock access, insurance certificates, floor protection requirements |
Employees should handle only what is safe and simple: clearing desk drawers, packing personal items and small peripherals into labeled boxes, and tagging chairs. Computers, monitors and docking stations stay with IT and movers. A policy that sets a maximum weight for any single box helps keep people out of trouble. Some companies set a limit of 50 pounds, others as low as 35, and all of them route awkward shapes to the crew regardless of weight. For a detailed IT workstream, see the office IT relocation checklist.
Step 4: Disassembly, hardware and labeling
This is where most moves are won or lost. The principle is simple: if you cannot match every part to its place at the other end, you will lose time reassembling.
Disassembly
- Take desks, modular panels, conference tables and storage systems apart according to the manufacturer’s guidelines, not by guesswork. Most systems furniture is designed to be reconfigured, which makes it well suited to relocation when disassembly is done correctly.
- Remove drawers, shelves and adjustable parts or secure them so that they cannot shift during loading.
- For height-adjustable desks, disconnect and protect motors, control panels and cables.
- Take down overhead storage and partition tops before moving panels.
Hardware
- Bag fasteners by furniture item and tape the bag to the piece it belongs to, or place it in a labeled container that travels with the item.
- Keep manufacturer-specific hardware, such as cam locks and connector brackets, in separate labeled bags. A mismatched screw can damage a panel.
- Count components during teardown and store them so everything is accounted for before reassembly.
Labeling
Use a layered labeling system:
| Level |
What it shows |
Why it matters |
| Workstation code |
The floor-zone-desk code from the plan |
Tells the crew where each item ends up |
| Component label |
Panel position, left or right, top or bottom |
Preserves the original configuration |
| Asset tag |
Existing company tag on chairs, screens, equipment |
Supports inventory and insurance claims |
| Hardware bag label |
Item and workstation code |
Prevents lost or mixed fasteners |
| Box label |
Contents and destination |
Speeds up unpacking |
Place labels where they will not be obscured by wrapping and cannot be mistaken for another item’s label. Group similar items on the truck and at the destination so unpacking proceeds area by area.
Step 5: Protection and loading
Office furniture looks sturdy until it is scratched, chipped or warped in transit. Match the protection to the item.
- Glass partitions, laminated tops and reception counters need reinforcement and padding. Laminates can crack or warp, and glass needs edge protection and rigid support.
- Upholstered pieces need covers to keep out dust and moisture.
- Polished and wood surfaces need padded blankets and corner guards, not tape that can lift finishes.
- Conference tables are usually disassembled before transport and reassembled in their original configuration at the new site.
- Filing cabinets are heaviest when full. Empty them according to your records policy, and lock drawers or secure them so they do not slide open. If you must move documents, treat them as sensitive material with sealed, labeled containers.
Loading should follow room sequence and weight distribution. Heavy items go low and forward, tie-down rails and restraints hold everything, and the load is organized so that the first items off the truck are the first needed.
If your move includes sensitive items such as medical or scientific equipment, handle those under their own plan. The guide to laboratory relocation planning covers how specialist equipment is cleared and moved.
Step 6: Installation and reassembly
Reassembly is a skilled task, not a reverse of unloading. A crew working from your floor plan should install in the agreed zone order, and each workstation should be complete before the crew moves to the next.
The installation sequence:
- Confirm access and floor protection. Building rules for elevator windows, loading bays and insurance certificates are confirmed during scoping, not on move day.
- Set out the layout. Mark panel and desk positions from the plan before anything is assembled.
- Assemble systems furniture from the base up, following the manufacturer’s sequence and the component labels.
- Level and secure. Level panels and desk systems, secure connections and test movable parts such as drawers, keyboard trays and height mechanisms.
- Place chairs, storage and shared items, matching asset tags to workstation codes.
- Hand over to IT for reconnecting devices.
- Inspect. A team lead walks each zone against the plan and records issues.
Agree the installation sequence with the provider well before move day. Contract furniture guidance recommends settling the sequence at least two weeks ahead, and sequencing the clearance of the old space so that two crews do not compete for the same elevator.
Ergonomic setup
A new layout is an opportunity to set people up correctly. Adjust chairs, monitor heights and keyboard trays at each workstation, and give staff a short guide for their own adjustments. The ergonomic “power zone” between mid-thigh and mid-chest is the range where lifting puts the least stress on the back and shoulders, which is worth remembering when placing frequently used items on shelves and cabinets.
Step 7: Record damage and fix defects
Damage documentation protects both sides. It is easiest to do at two moments.
- Before the move: photograph every item marked for relocation, with close-ups of existing marks.
- On arrival: check each item against the photographs and the asset list before signing the delivery record.
Damage that is noticed and noted at delivery is far easier to resolve than damage discovered later, after the delivery is accepted. Keep one shared file of photographs and notes that both you and the provider can see.
After move-in, expect some defects that only show up in regular use: a sticking drawer, a loose seam, a panel that needs re-leveling. Book a post-occupation review visit two to three weeks after the move so these can be handled in one trip. Close the project with a handover pack that includes the updated furniture schedule, a record of any substitutions and the final asset locations. It becomes the basis for future audits and moves.
Special situations
Some moves need more than the standard plan.
Phased moves. When a business cannot close for a night, departments move in waves. Plan each wave as its own mini project with its own codes, crew schedule and installation zone. Keep the old and new spaces clearly separated so that furniture does not wander between them, and finish each zone, including IT, before the next begins.
Sit-stand and powered furniture. Height-adjustable desks contain motors, controllers and cable harnesses. Photograph the wiring before disconnecting it, keep control units with their desks and test every mechanism after installation.
Shared and hot-desk environments. Without assigned seats, labels shift from people to zones. Number the desks, document the layout by zone and give staff a seat map so that nobody is searching for a workstation on the first morning.
Leased space with make-good clauses. Many leases require the old space to be returned in its original condition. Walk the space with building management before and after the move, photograph wall marks and mounting holes, and schedule any repairs during the move window rather than afterward.
Older furniture. Pieces that have been in place for years may have worn fasteners, fragile veneers or parts that are no longer available. Include these in the audit with a note, and decide before the move whether they are worth the risk of disassembly.
What drives effort and cost
Rather than quoting a number that will not match your office, understand what moves an estimate up or down.
- The number of workstations and the amount of systems furniture to disassemble
- The type of furniture, with glass, stone and powered desks taking more care
- Access conditions at both sites, including elevators, distance from loading dock to floor and stairs
- Timing, since evening and weekend work follows a different schedule from daytime moves
- Whether new furniture is being installed alongside the relocated pieces
- Storage needs for items not moving immediately
- The scope of post-move support, such as defect visits and reconfiguration
A walkthrough and an inventory produce a reliable estimate. A figure given without seeing the space is a rough guess.
A sample timeline
This schedule is a guide, not a rule. Smaller offices will compress it.
| When |
Tasks |
| 10 to 8 weeks before |
Furniture audit, decisions on relocate, refurbish or retire, preliminary floor plan, building access rules requested |
| 8 to 6 weeks before |
Floor plan locked, new purchases ordered, moving provider chosen, installation zones defined |
| 6 to 4 weeks before |
Workstation codes assigned, labeling materials prepared, walkthroughs with the provider |
| 4 to 2 weeks before |
Staff notices and packing instructions, installation sequence agreed, elevator and dock bookings confirmed |
| Final week |
Photographs of items to be relocated, hardware bags and labels checked, IT handoff plan confirmed |
| Move period |
Disassembly, loading, transport, unloading, installation by zone, IT reconnection |
| 2 to 3 weeks after |
Defect review visit, handover pack, retired items finalized |
Common mistakes
| Mistake |
What happens |
Prevention |
| Moving everything without an audit |
Paying to move items you do not need |
Decide relocate, refurbish or retire first |
| Changing the floor plan after labeling |
Labels and positions no longer match |
Lock the plan before labeling |
| No component labels on modular panels |
Slow, error-prone reassembly |
Label position and orientation |
| Loose hardware |
Missing fasteners and delays |
Bag by item and attach to the piece |
| Letting staff move monitors or heavy items |
Injuries and damaged equipment |
Set a weight limit and route heavy items to the crew |
| No photographs before the move |
Disputes over pre-existing damage |
Photograph every relocated item |
| Skipping building rules |
Crew turned away at the dock |
Confirm elevator, dock and insurance requirements early |
| No post-move review |
Small defects linger |
Schedule a defect visit two to three weeks later |
Questions to ask a provider
| Question |
What a good answer includes |
| Do you disassemble and reassemble systems furniture? |
A clear process using manufacturer guidelines and component labeling |
| How do you track hardware and components? |
Bagging by item, labels, counts at teardown and at setup |
| How do you protect glass, laminate and upholstered pieces? |
Specific materials and methods, not a general statement |
| Can you work evenings or weekends? |
Flexible scheduling that keeps your business open |
| How do you coordinate with our IT team? |
A defined handoff where IT disconnects and reconnects equipment |
| What happens if damage occurs? |
A documented process, photographs and clear liability terms in writing |
| Can you store items we are not ready to dispose of? |
Short or long-term storage options |
Final thoughts
An office furniture move rewards preparation. Audit first, lock the floor plan, label everything in layers, divide the work clearly and record the condition of each item. On move day, the crew should be executing a plan, not discovering one.
For the wider project around the furniture, the guide to planning an office relocation without losing productivity covers timelines and responsibilities across departments.